
The Eighth Tutorial of Christmas
 Soft picture book
 Materials Needed:
small pieces of scrap fabric atleast 10" x 5"
Plastic sew-on vinyl
Plastic sew-on vinyl
Iron-on fleece
1" sew-on velcro
matching thread
Basic sewing essentials
Step 1: Cut out pieces.
Cover Front: 7 1/2" x 4 1/2" (cut 1)
Cover Back: 9 1/2" x 4 1/2" (cut 1)
Cover Spine: 4" x 4 1/2" (cut 2)
Inside Cover/page 1: 7 1/2" x 4 1/2" (cut 2 from different fabrics)
Inside Cover flap: 2 1/2" x 4 1/2" (cut 1)
Iron on fleece: 7" x 4" (cut 1) & 9" x 4" (cut 1)
Vinyl: 8" x 4 1/2" (cut 10) cut a rectangle, then shape them as shown below.
Pages: 8" x 4 1/2" (cut 8)
 Step 2: Sew Cover.
Iron fleece to reverse side of covers.
(to cover front, iron the 7" x 4" fleece, centering it, and to the cover back, iron the 9" x 4" fleece, centering it on the fabric.)
sew the cover front to one of the cover spine pieces along the side that measures 4 1/2". Then sew the other side of the cover spine to the cover back, creating one long strip. (as shown below.)

Sew soft side of velcro to outside cover (on the front cover side), centering it 1 inch from the end of the cover.

To sew the cover inside, trim 1/2 inch off one piece of vinyl (the side that is 4 1/2 inches across), and lay this even with the edge of your inside cover piece. With right side of fabric facing the vinyl, pin the inside cover flap to the vinyl and inside cover. Sew a 1/2 inch seam, with the vinyl overlaying one side of the inside cover. (as shown below)
 Sew this inside cover piece to the second cover spine, be careful to not sew the vinyl into the spine. Then sew the other inside cover piece to the other side of the cover spine (in the same way you sewed the outside cover.) Sorry, that is probably really confusing. The inside cover should now look like this:
 Trim 1/2" off another piece of vinyl (4 1/2" side) and lay it on top of the other inside cover piece (the one that doesn't have vinyl yet).
Lay the outside cover on top of the inside cover (right sides facing, and spine seams lined up) Pin these together, with the vinyl enclosed, and pinned into the side seams.
Sew around 3 sides, leaving one short side open to turn it. Clip the corners and turn right side out, making sure the vinyl is on the inside cover side to create pockets for the pictures.
Sew a 2 1/2 inch piece of velcro to the inside flap, as shown below.

You should be able to easily fit a 3" x 5" picture inside

Sew the open end of the cover shut by tucking it in 1/2" and sewing a seam close to the edge as shown below.

Step 3: Sew the pages.
Sew 2 pages together at a time, right sides facing in along the 4 1/2" side and iron the seams open flat as shown below.
 Lay one set of pages (2 pages sewn together above) flat, then lay 2 pieces of vinyl on each page, lining up edges, and turning the tapered side of vinyl toward the center seam,
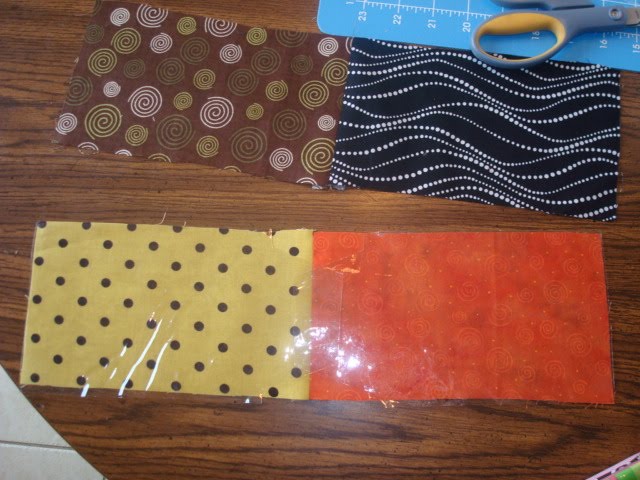 then lay another set of pages (right side facing vinyl) on top and pin edges.
 Sew a 1/2" seam around 3 sides, leaving short side open, and trim corners as shown below.
 Turn right side out, seperating the vinyl so that it creates a pocket on each page as shown below.
Tuck the flaps on the top of the vinyl inside the pocket (they will hold the pictures inside.)
Side one:
 Side 2:
 Sew the open end of the pages shut by tucking it in 1/2" and sewing a seam close to the edge as shown below.
 Sew the other pages in the same way.
Step 4: sew the pages to the cover
Lining up the edges, and the center seams, sew the pages to the cover, making sure the edge of the pages line up with the edge of the front cover.
 Your back cover has the flap that will fold around and attach to the front cover to close.
 Cute without anything on the front, or ...
 Cute with a simple iron on applique! Either way, the child on your list will LOVE it!

Lining up the edges, and the center seams, sew the pages to the cover, making sure the edge of the pages line up with the edge of the front cover.
 Your back cover has the flap that will fold around and attach to the front cover to close.
 Cute without anything on the front, or ...Cute with a simple iron on applique! Either way, the child on your list will LOVE it!


Divine !. thanks :)
ReplyDeleteI love this! What an awesome idea!!
ReplyDeleteStef
www.itsallinmyheadstefsblog.blogspot.com
wow, great...!!!
ReplyDeleteI love this one too... Hopefully i can have some free time to make it...
Thanx a lot for sharing this... :)