
 This is the easiest tutorial yet, so if you have been scared to try some of the past ones, this one is for you. And you Amy! :)
 ( This pattern should fill a full 8 1/2" x 11" sheet of paper when printed)
Step 1: Pin pattern on the fold of fabric and cut 2. Step 2: Sew a 1/2 inch seam around the outside of the pillow, leaving a 4 inch opening at the top. Clip around the edge of your pillow every 1/2 inch close to the seam without cutting it.
 Step 3: Turn the pillow right side out and stuff it with fiberfill (stuff it until it is firm, but still holds it's shape).
 If you have a little helper, be prepared to work extra fast through this step.
 Faster!
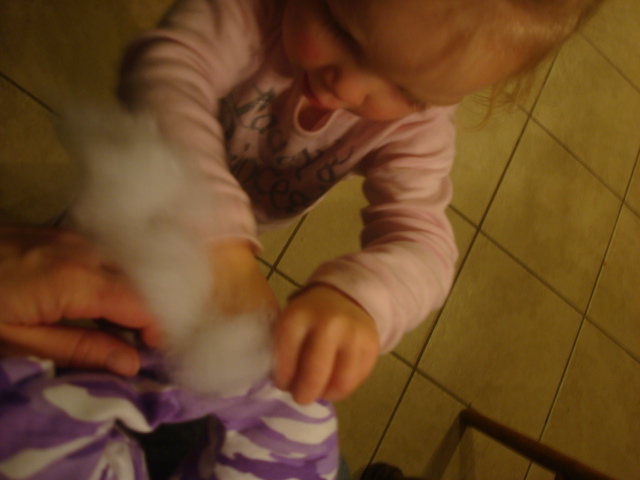 Seriously Mom! Keep up! :)
 Giving it as a gift? You could make a cute travel bag for a little kid, including some books, coloring book and colored pencils, snacks, I spy game, etch-a-sketch, a toy car or truck or doll for a girl, anything that entertains.... the possibilities are endless.
I have to share these funny photos of my boy! I tried to take pictures of him wearing his pillow around his neck, but couldn't catch him sleeping when I had my camera with me, so he being the great kid he is, told me that he would just pretend to sleep.
This is how he slept before he had his pillow!
 This is after!
NOTE: this is a children's size pillow. To make it to fit an adult, make the pattern 1 inch bigger on each side, keeping the neck opening the same.


I totally made one of these! Best idea ever and so simple! Love it.
ReplyDeleteNice articles and your information valuable and good articles thanks for the sharing information Travel pillow
ReplyDelete